Instructions
Prepare the Dough: In a large mixing bowl, combine the flour, sugar, instant yeast, and salt. Mix the dry ingredients together thoroughly. Create a well in the center and add the olive oil, warm water, and warm milk. Using a wooden spoon or your hands, mix everything together until a shaggy dough forms. Turn the dough out onto a lightly floured surface and knead for eight to ten minutes until it becomes smooth, elastic, and springs back when poked. The dough should be soft but not sticky. If it feels too sticky, add flour one tablespoon at a time.
First Rise: Lightly oil a clean bowl and place the dough inside, turning it to coat all sides with oil. Cover the bowl with a damp kitchen towel or plastic wrap. Let the dough rise in a warm, draft-free location for one to one and a half hours, or until it has doubled in size. This rising period develops the flavor and creates the perfect texture.
Shape the Pitas: Once risen, punch down the dough to release air bubbles. Turn it out onto a lightly floured surface and divide it into eight equal portions. Roll each portion into a smooth ball. Cover the balls with a kitchen towel and let them rest for fifteen minutes. This resting time relaxes the gluten, making the dough easier to roll out.
Working with one ball at a time while keeping the others covered, roll each piece into an oval shape about six to seven inches long and four inches wide, approximately one-quarter inch thick. Don’t roll them too thin, as they need enough thickness to puff up nicely when cooked.
Cook the Pitas: Heat a large skillet or griddle over medium-high heat. The pan should be hot but not smoking. You don’t need to add oil to the pan. Place one pita in the hot skillet and cook for about two minutes on the first side, or until you see bubbles forming and the bottom has golden-brown spots. Flip the pita and cook for another one to two minutes on the second side. The pita should puff up during cooking, creating that characteristic pocket. Press gently with a spatula if needed to encourage even puffing.
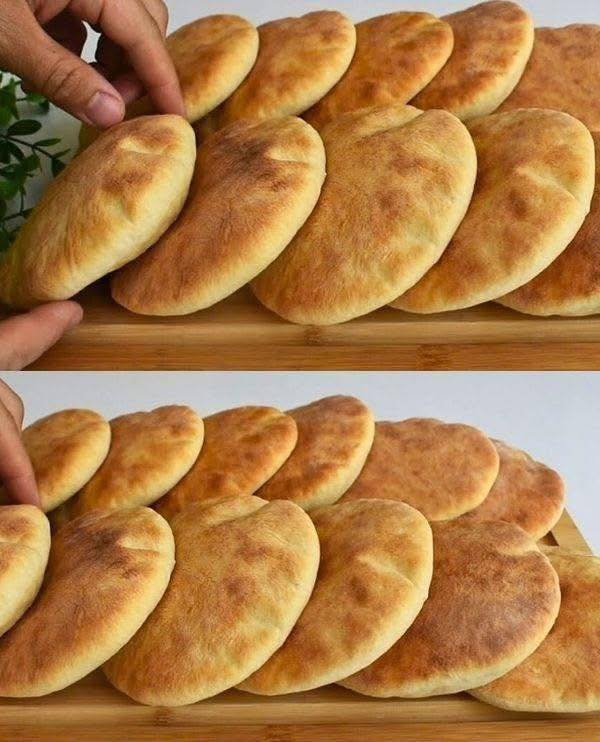
Keep Warm: As each pita finishes cooking, transfer it to a plate and brush lightly with melted butter or olive oil if desired. Stack the cooked pitas and cover them with a clean kitchen towel to keep them soft and warm. The steam trapped under the towel keeps them pliable and prevents them from drying out.
Tips for Success
Ensure your water is the right temperature, as water that’s too hot will kill the yeast, while water that’s too cold won’t activate it properly. Don’t skip the resting time after shaping, as this makes rolling much easier. If your pitas aren’t puffing, your pan might not be hot enough.
Storage
Store cooled pitas in an airtight container or plastic bag at room temperature for two days, refrigerate for up to one week, or freeze for up to three months. Reheat in a dry skillet or wrapped in foil in the oven.
Serving Suggestions
Serve warm with hummus, baba ganoush, tzatziki, or use as wraps for gyros, falafel, or grilled vegetables.

